> ## Documentation Index
> Fetch the complete documentation index at: https://developers.autoplay.ai/llms.txt
> Use this file to discover all available pages before exploring further.
# Usertour — How to setup
> Trigger a Usertour flow from the Autoplay event stream.
Autoplay streams structured UI actions from your users' browser sessions in real time. This tutorial wires that stream to Usertour so that when the right moment arrives — a user stuck on a page, a first-time feature visit, a repeated error — your backend detects it and fires the correct Usertour flow immediately.
This tutorial builds on [How to trigger a User Tour](/recipes/user-tour/overview). Complete that guide first — it covers the proxy route, EventSource connection, and payload structure. This page covers only what is specific to Usertour.
## 1. Install Usertour
Add the snippet to your app and initialize it with your environment token from **Settings → Environments**.
```html theme={null}
```
Then initialize the SDK once the script loads:
```javascript theme={null}
usertour.init('YOUR_ENVIRONMENT_TOKEN');
```
## 2. Identify the user
Call this once the user is authenticated. Use the same `userId` you send to PostHog so Autoplay can match sessions correctly.
```javascript theme={null}
await usertour.identify(userId, {
name: user.displayName,
email: user.email,
signed_up_at: user.createdAt, // ISO 8601
});
```
## 3. Create a flow in Usertour
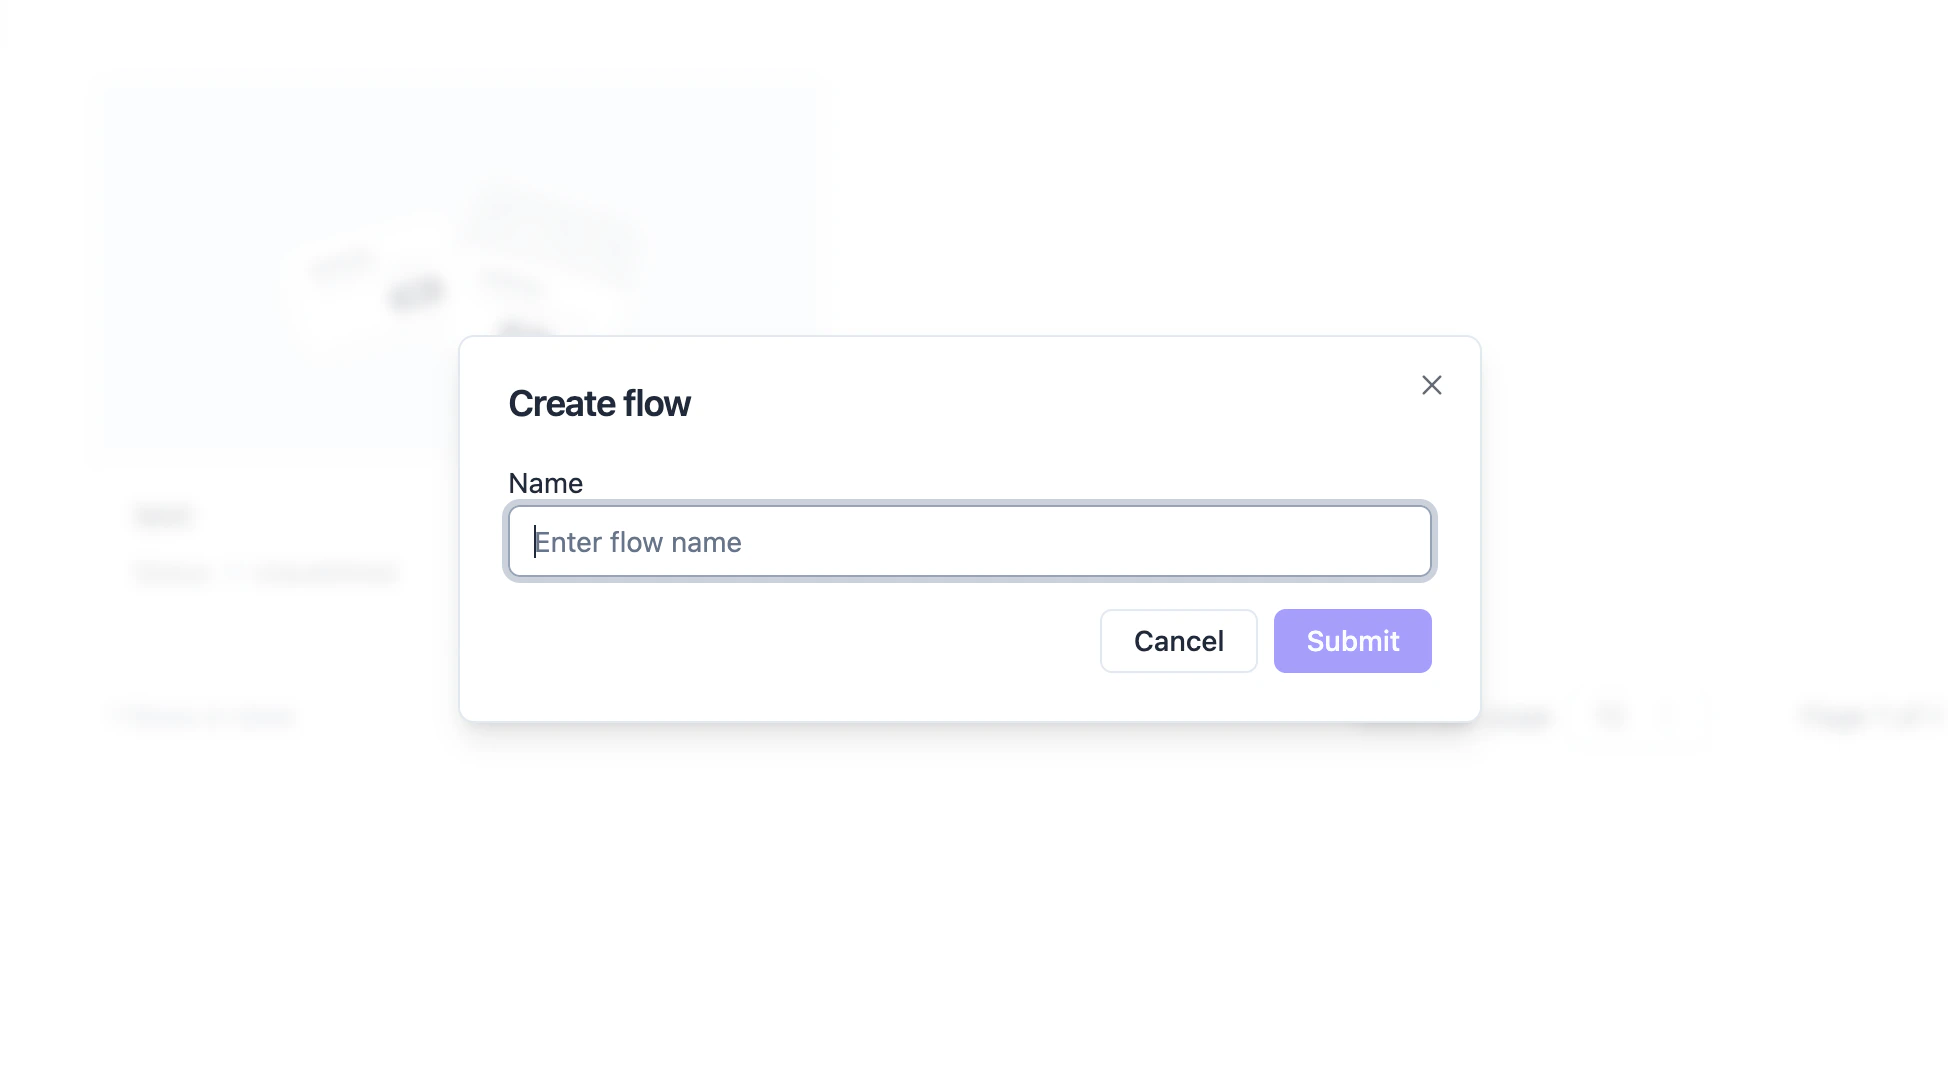
1. In the Usertour dashboard go to **Flows → New flow** and build your tour.
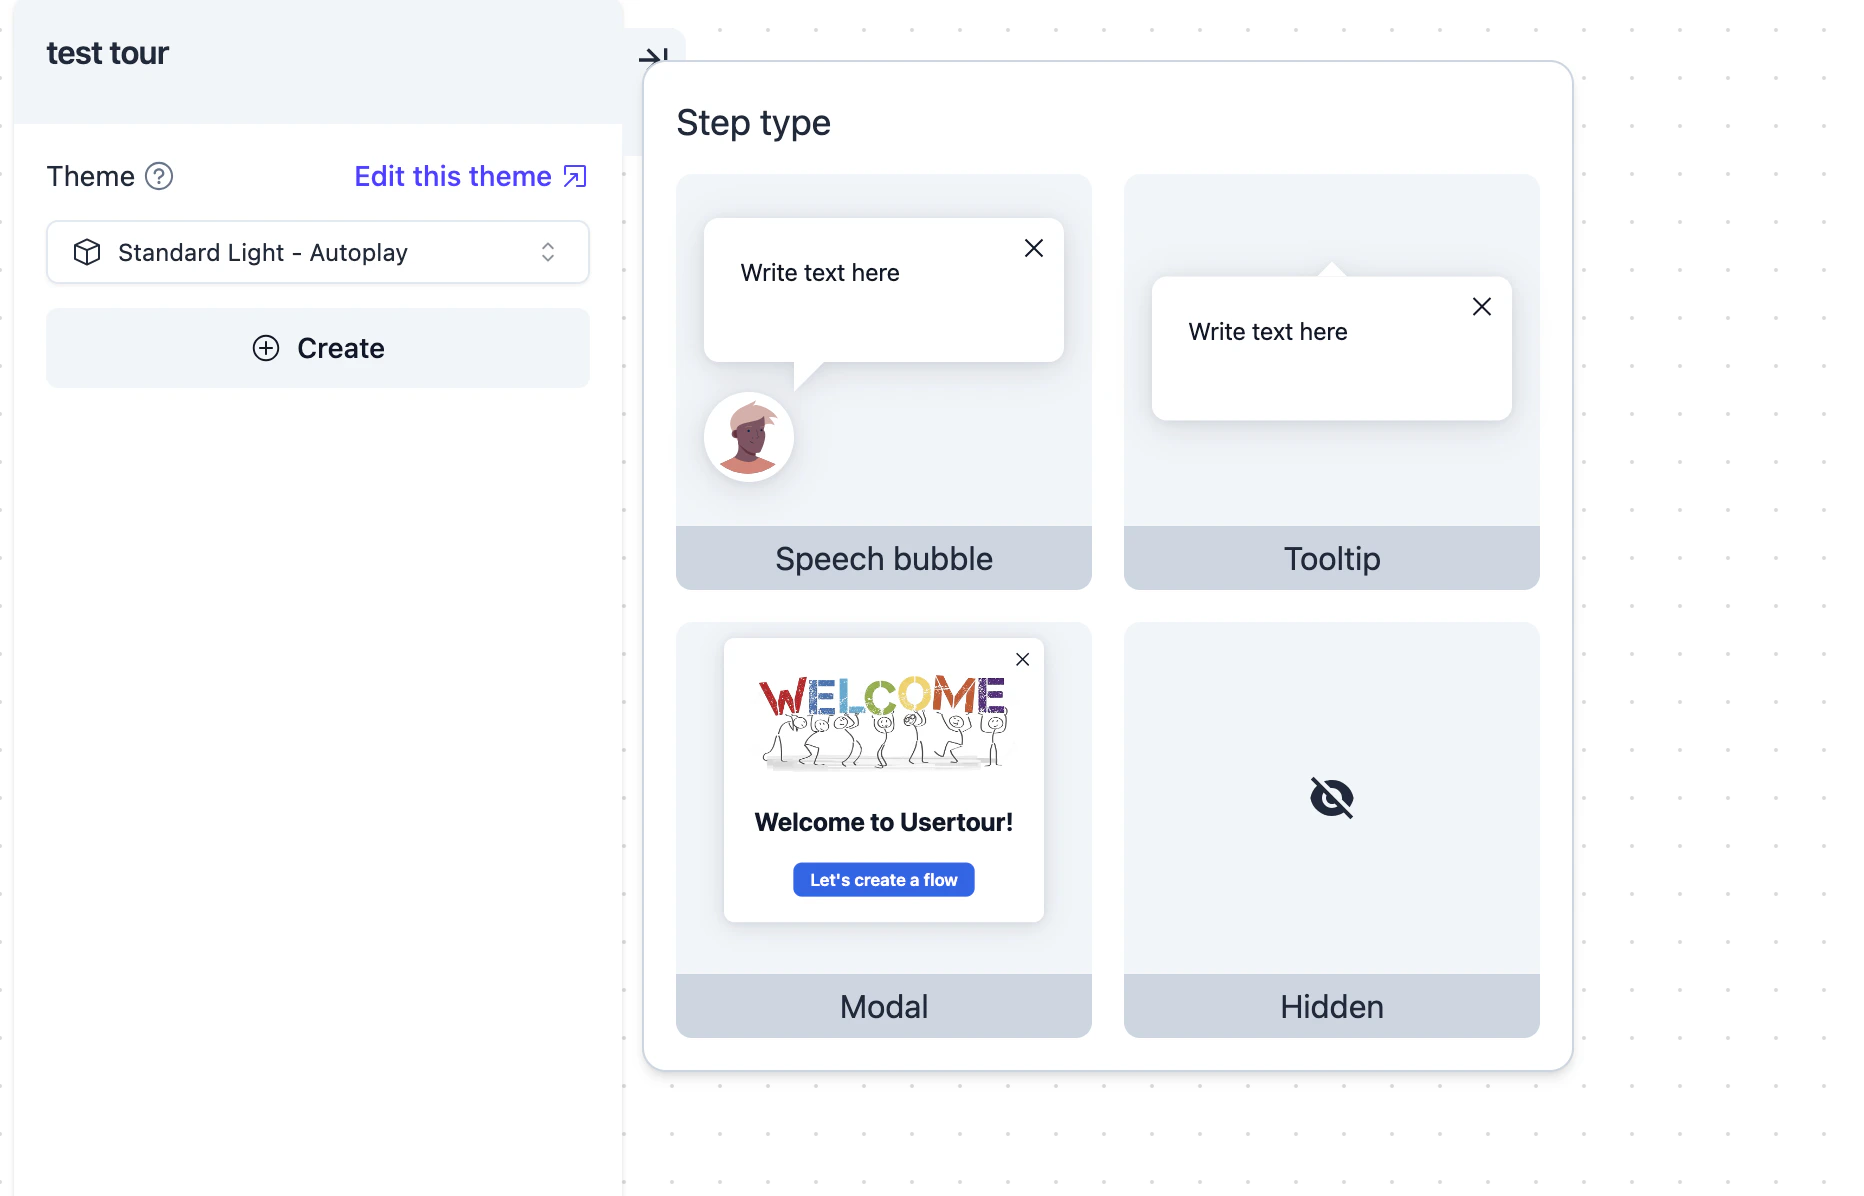
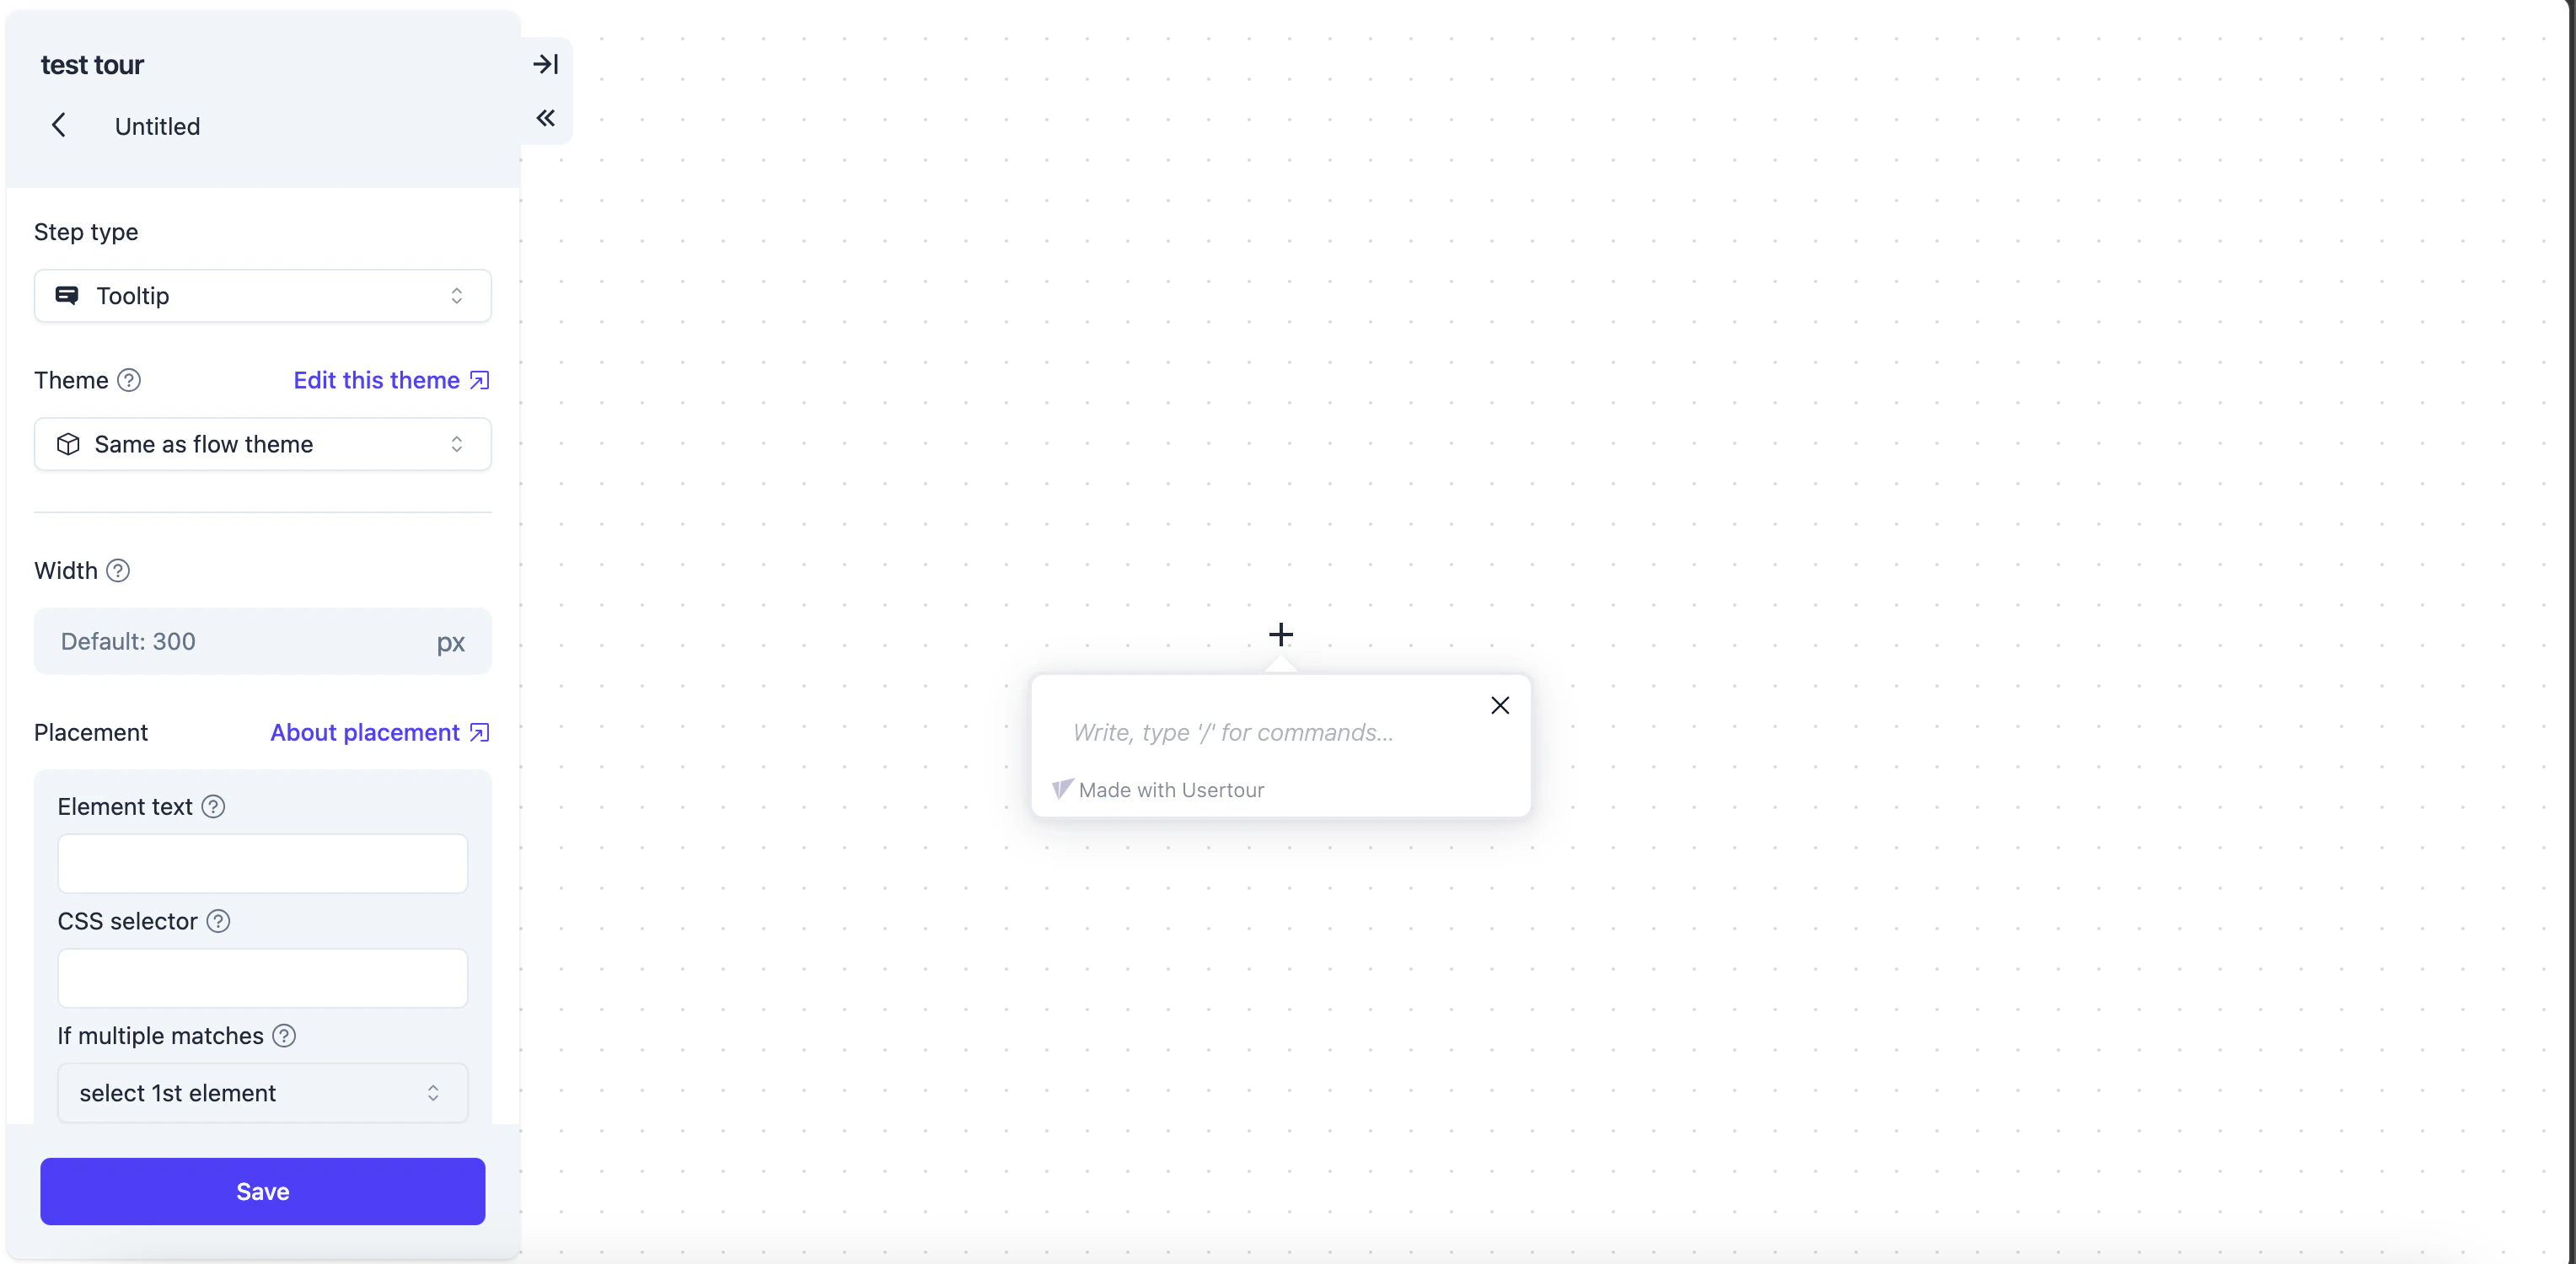
 2. Use the visual builder to add steps — tooltips, modals, hotspots, or checklists — and attach each step to an element on your page.
 3. Set any targeting rules you need (page URL, user segment, etc.), then publish the flow.
4. Note the **Flow ID** shown in the URL bar when editing the flow (`/flows//edit`).
3. Set any targeting rules you need (page URL, user segment, etc.), then publish the flow.
4. Note the **Flow ID** shown in the URL bar when editing the flow (`/flows//edit`).
 ## 4. Trigger the flow
In your `onmessage` handler from [Step 4 of the base guide](/recipes/user-tour/overview#4-understanding-the-payload), add the Usertour trigger call:
```javascript theme={null}
events.onmessage = (event) => {
const payload = JSON.parse(event.data);
if (payload.type !== "usertour_trigger") return;
const mySessionId = posthog?.get_session_id?.() ?? null;
if (!mySessionId || payload.session_id !== mySessionId) return;
usertour.start(payload.flow_id);
};
```
The `flow_id` in the payload maps to the **Flow ID** of your Usertour flow, visible in the URL when editing the flow in the Usertour dashboard.
## 4. Trigger the flow
In your `onmessage` handler from [Step 4 of the base guide](/recipes/user-tour/overview#4-understanding-the-payload), add the Usertour trigger call:
```javascript theme={null}
events.onmessage = (event) => {
const payload = JSON.parse(event.data);
if (payload.type !== "usertour_trigger") return;
const mySessionId = posthog?.get_session_id?.() ?? null;
if (!mySessionId || payload.session_id !== mySessionId) return;
usertour.start(payload.flow_id);
};
```
The `flow_id` in the payload maps to the **Flow ID** of your Usertour flow, visible in the URL when editing the flow in the Usertour dashboard.